The easiest way to install Joomla is to use the Softaculous script installer available in the cPanel account. It is possible to create a new installation in the following way:
1. Log into your cPanel account.
2. Navigate to Exclusive for NityGity customers section > Softaculous Apps Installer menu: 
3. Find the Joomla script and click on the Install button: 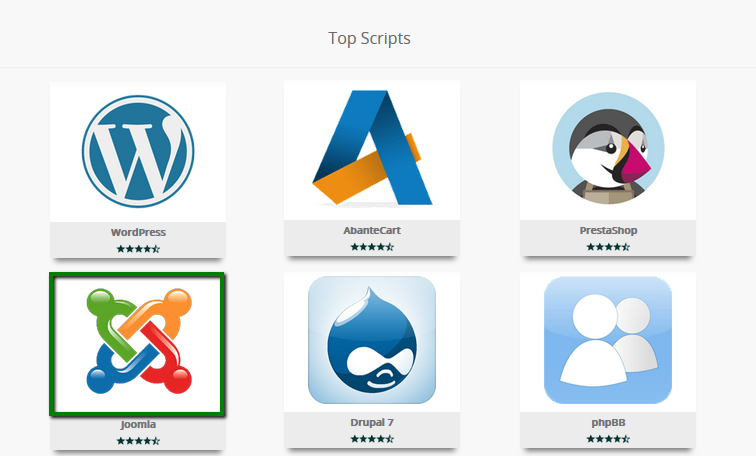

4. You will need to indicate the following information in the next window:
Choose the version you want to install: here you can choose from available versions of Joomla to install on your website (It is recommended to use the latest version available).
Choose Domain: indicate the domain name you wish to install Joomla for.
In Directory: in this field, you will need to specify the directory name you wish to install Joomla into. It is not necessary to create the folder in advance since it will be created automatically during the installation.
NOTE: By default, Joomla will be installed on yourdomain.com. If you wish your website to go to some subfolder, like yourdomain.com/blog, simply type 'blog' in this field.
Database Name: choose the name of the database to be created for the installation.
NOTE: It is important to take a note of the database name since you may need it to make some manual corrections (e.g., reset the password, export the database, etc.) Also, please note that all the settings for your Joomla installation will be kept in this database, so you can always check them in case of any issues.
Admin Username: the username that will be used to access Joomla Administration Panel.
Admin Password: the password that will be used to access Joomla Administration Panel.
Admin Email: the email address to which the CRON activities and other admin related emails will be sent to.
NOTE: It is recommended to use a permanent email address you check regularly in order not to miss important notifications. 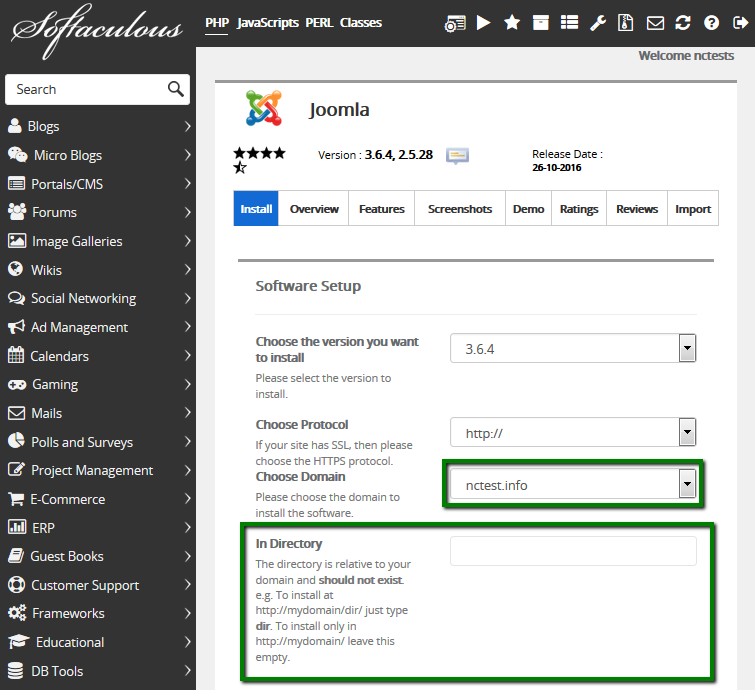
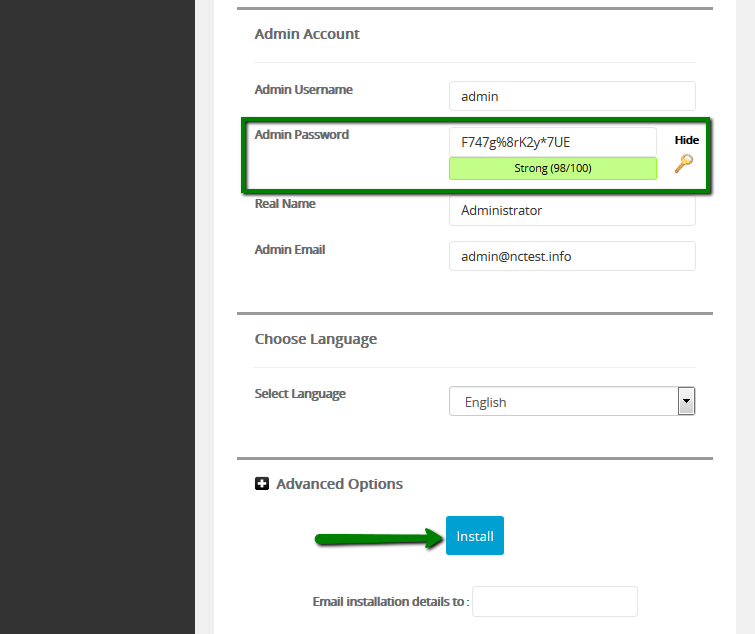
After you have finished filling in, click on Install to proceed with the installation.
5. Once the installation is over, you will see the following window where the links to your Joomla website and Joomla Administration Panel are indicated: 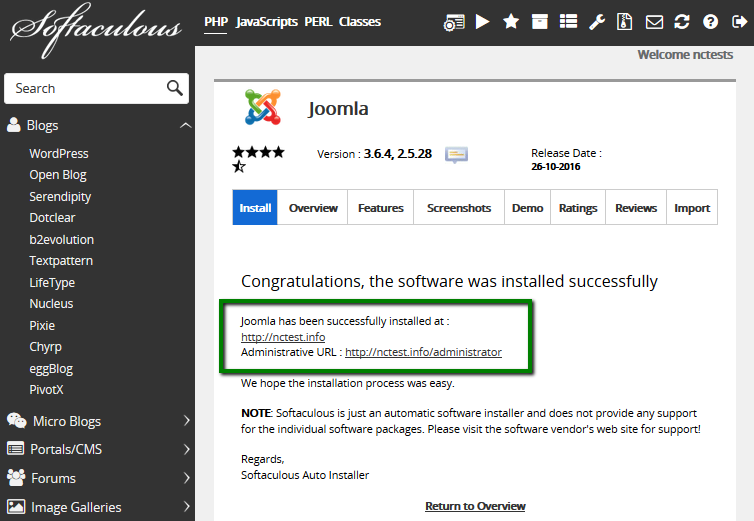
To access Joomla Administration Panel, simply click on the Administrative link. Use the login details that you have chosen during the installation process: 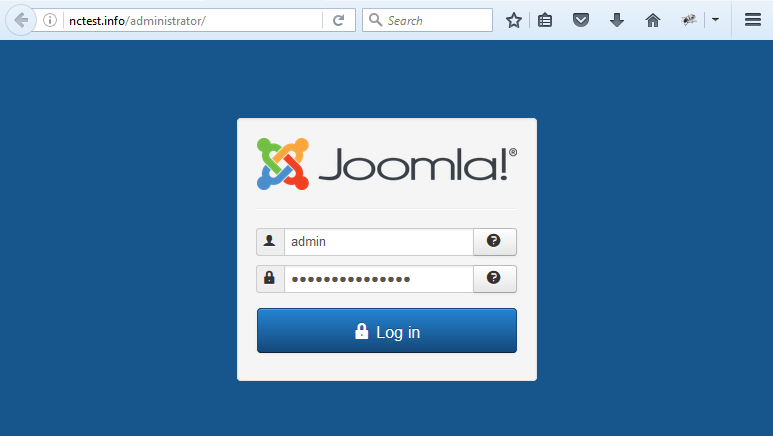
Now you can add new posts, pictures and other media content, change your website themes and edit your website directly from Joomla Administration Panel.
That's it!
Need any help? Contact us via Helpdesk